Chances are, you haven’t lost a wink of sleep worrying about flushing your water heater. And you’re not alone! Most homeowners don’t think about the health of their water heater—or the nasty sediment buildup—until their bubble bath becomes a polar plunge.
But as sediment and minerals accumulate on the bottom of your water heater, two problems occur: your tank will become corroded, and your water heater will require more energy to maintain heat. As minerals cake on the bottom of your system, slowly rusting through your tank, your heating elements will have to use more gas or electricity to heat through the layer of sediment and warm the water above.
But as with any DIY home maintenance task, just a bit of annual preventative maintenance is worth years of peak performance, and lower bills, to boot!
Amateur home handy-people can tackle this annual cleanout in just 5 steps:
- Turn off the water heater
Before flushing your system, shut off the breaker that controls the water heater, or turn off the gas valve.
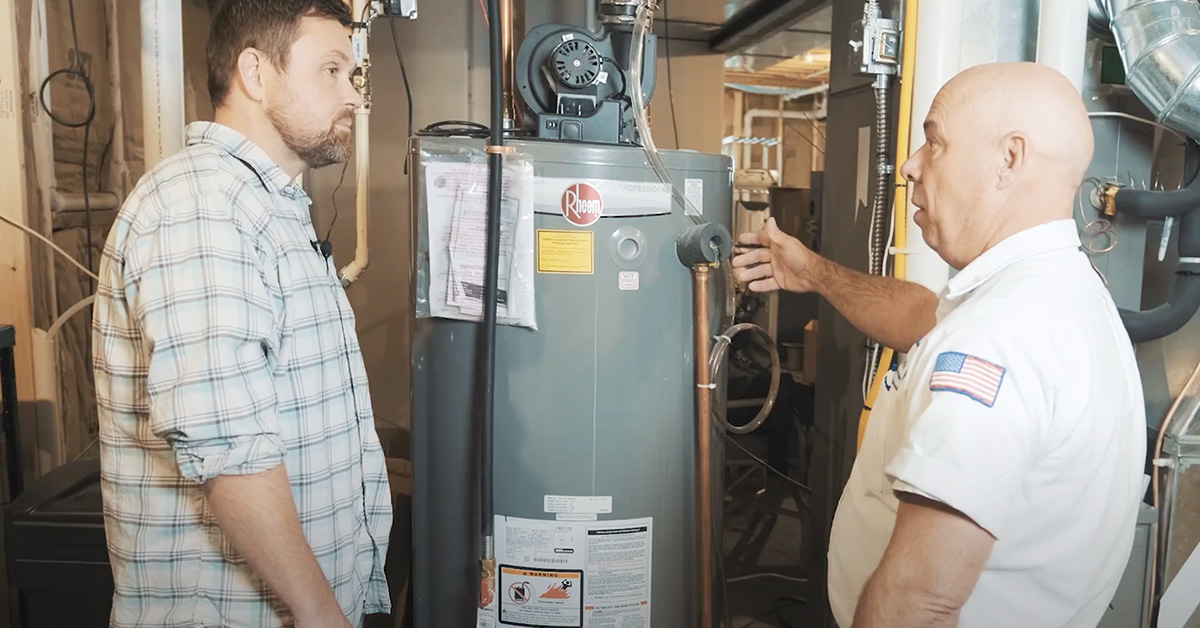
- Turn off the water supply valve
Near the back of the tank, you’ll find the water supply line. Locate the small lever that controls this supply and switch it to the “Off” position.
Note: Near the top of the tank you’ll find a pressure relief valve. Whatever you do, don’t open that valve!
The pressure relief valve is an emergency safety feature that protects the tank from building up dangerous pressure. And once it opens, the seal is permanently affected.
- Connect a garden hose to the water heater drain
Look for a drain valve near the bottom of the water heater. This valve is usually brass, but may be plastic. If you have a brass drain, go ahead and connect the water hose to it, and feed the other end of the hose into the floor drain, or outside.
If the water heater has a plastic drain, be prepared to call in a plumbing expert. These drains can become brittle and difficult to close over time. We’ve even seen the whole drain break off when opened! To avoid flooding your basement or water heater closet, we recommend having a plumbing pro out to complete your first flush. At that time, they may replace the plastic drain with a brass one. Then you’ll be prepared to DIY your water heater maintenance in the future.
- Open the water heater’s drain valve
Warning: The draining water will be hot!
Once the garden hose is connected to the water heater, place the other end in a space that can withstand high-pressured hot water. Open the drain valve near the water heater drain.
Drape a towel over the hose connection, in case hot water drips or sprays from that connection point.
As water drains from the tank, open and close the water supply valve. This will fluctuate the pressure in the tank, stirring up the sediment so it can flow through the hose.
- Refill the tank and repower your system
Once the tank has drained, close the drain valve and remove the hose.
You can then turn the water supply and breaker or gas back on and begin refilling the water heater. To speed up the filling process, and remove extra air from the line, turn on a nearby faucet until the water runs freely.
That’s it. You’ve just completed an essential home maintenance project!
How often should you flush your water heater?
We recommend homeowners flush their water heater at least once a year. But if you live in an area with exceptionally hard water, or your pipes are older, you may need to flush the tank more often.
If you notice a significant amount of sediment coming from the tank every time you flush the system, you may benefit from a twice-yearly or quarterly tank flush. This will prevent sediment from hardening at the bottom of the tank, where it will eventually corrode the coating of your system.
On the other hand, if you have a water softener or whole-home filtration system, flushing the tank just once a year can effectively remove the small amount of sediment that makes its way into the system. Your filtration system will keep the majority of particles out of the system, which should reduce the amount of sediment you see each time you flush. That’s just another reason why installing a whole-home softener or filter is well worth the cost!
Bonus Burton Tip: Reduce your water heater energy consumption by 5%!
Reduce your heater’s energy consumption by 5% for every 10 degrees you bump down your setting. The average household has theirs set between a high of 140 to 120 so dropping to a pleasant 110 degrees can save you even a good amount!
When in doubt, Just Call Burton
If a sandy build-up is the least of your water heater’s problems—or you’ve got a pesky plastic drain that won’t budge or breaks off—Just Call Burton!
Our fast, friendly, affordable expert plumbers make maintenance effortless. And when you call, don’t forget to ask about our seasonal specials!